Posted by admin | Under General, Oil Painting
Saturday Apr 24, 2010
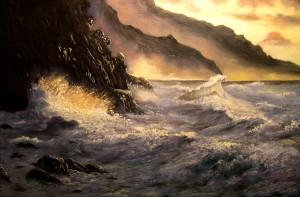 In the early spring, if you take your sketch pad to one of the off-shore islands along the coast of Maine, there is one thing you will come to know and to live with fog. When the visibility drops below a mile or so, you can be sure the foghorn will start pumping its low, mournful blast with a prearranged pattern. By checking this pattern on their charts, the vessels approaching the island will know exactly what landfall they have made. They may slowly pick their way into the harbor and layover until it clears, or they may pass by, never seeing the land where the friendly warning sounds of the horn emanated. A newcomer to the island may find this sound and vibration disturbing at first, may even have a sleepless night, but soon the mind accepts the rhythm of the horn and no longer consciously hears it.
In the springtime along the coast of New England (and England too), one can expect all types of weather to occur in a short span of time-rain, snow, cold, warmth, sun and fog. If the artist loves change, this is the time and place for it. This is the time, too, when the heavy oceans and fog combine to give the artist a quality of mystery and composition that is both strong and yet can be very subtle-a wonderful time to study shapes and reflections and the unexpected. Read the rest of this entry »
Posted by admin | Under Still Life
Saturday Apr 24, 2010
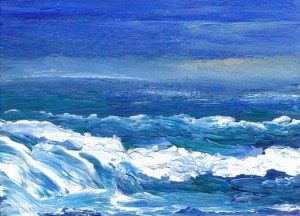
Paint Water
When I first turned my attention to painting the water in the ocean and its surroundings, I came face to face with the exasperating and ridiculous task of trying to make it stand still long enough for me to study and paint.
I soon learned that the very thing that had brought me to the ocean as a subject was the quality I was trying to take away from it. I came to realize it was not just the ocean that had movement-tides, currents, changing surface –but so did the sky and the sun. Our source of light, the great zenith of the sky, the clouds ever changing, all reveal to the artist reflection and reflected light, with the atmosphere breaking up the light and allowing us to observe and live with the colors on nature’s palette. Even the stately rocks had their days of movement when the Ice Age pushed, shoved, and arranged them in the beautiful patterns and shapes that we see today, the ocean constantly gnawing at their polished surfaces, breaking and chipping, creating new forms to delight the eye. Read the rest of this entry »
Posted by admin | Under Oil Painting
Saturday Apr 24, 2010
Posted by admin | Under Oil Painting
Saturday Apr 24, 2010
Posted by admin | Under Oil Painting
Saturday Apr 24, 2010
Posted by admin | Under Oil Painting
Friday Apr 23, 2010
Posted by admin | Under Oil Painting
Friday Apr 23, 2010
Posted by admin | Under Oil Painting
Friday Apr 23, 2010
Posted by admin | Under General, Oil Painting
Friday Apr 23, 2010
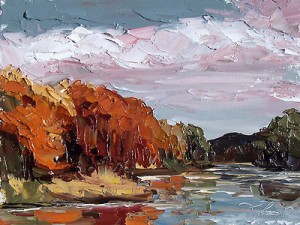 There are of course innumerable kinds of landscapes. Indeed, one of the joys in painting them is the freedom to choose this particular topography or that genus of shrub, this sort of weather or that thickness of cloud. Sometimes the mere inclusion of a faintly drawn person or wisp of smoke from an unseen chimney can change the whole character of your work. As your proficiency in landscapes increases, so too will your pleasure in their immense variety.
Of course this variety also presents something of a problem, namely, which sort of a landscape should I choose for this instruction? I decided, first of all, that trees are indispensable, though many of my customers do enjoy seascapes as well. Yet seascapes would involve additional complications that would stretch the scope of this article. I decided that a good compromise would be to do trees along a river bank. That way we can practice all the rudiments of a good landscape: grass, trees, sky and water. Read the rest of this entry »
Posted by admin | Under Oil Painting
Wednesday Apr 21, 2010
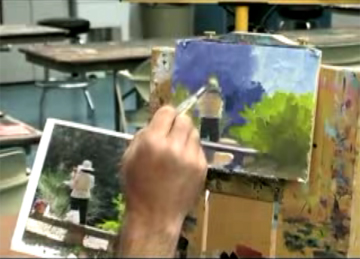 This is a one session oil painting
Oil Painting Materials Needed:
- A photo to reference for your painting.
- Canvas panel.
- Canvas mount or easel.
- Oil paints, using colors from your photo.
- Mineral spirits.
- Brushes
To start the process, lets work on a canvas panel mounted on a board. Then take your photo reference for the oil painting and have it next to your canvas. Read the rest of this entry »
 In the early spring, if you take your sketch pad to one of the off-shore islands along the coast of Maine, there is one thing you will come to know and to live with fog. When the visibility drops below a mile or so, you can be sure the foghorn will start pumping its low, mournful blast with a prearranged pattern. By checking this pattern on their charts, the vessels approaching the island will know exactly what landfall they have made. They may slowly pick their way into the harbor and layover until it clears, or they may pass by, never seeing the land where the friendly warning sounds of the horn emanated. A newcomer to the island may find this sound and vibration disturbing at first, may even have a sleepless night, but soon the mind accepts the rhythm of the horn and no longer consciously hears it.
 To start the lesson follow the steps below:
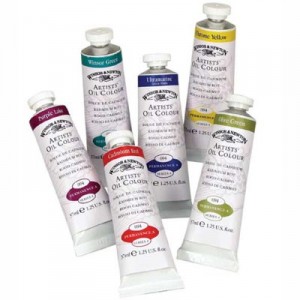 To start the lesson follow the steps below:
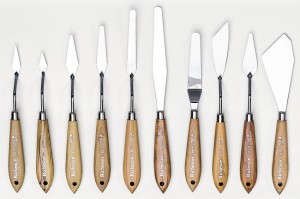
 To start the lesson follow the steps below:
 There are of course innumerable kinds of landscapes. Indeed, one of the joys in painting them is the freedom to choose this particular topography or that genus of shrub, this sort of weather or that thickness of cloud. Sometimes the mere inclusion of a faintly drawn person or wisp of smoke from an unseen chimney can change the whole character of your work. As your proficiency in landscapes increases, so too will your pleasure in their immense variety.
 This is a one session oil painting